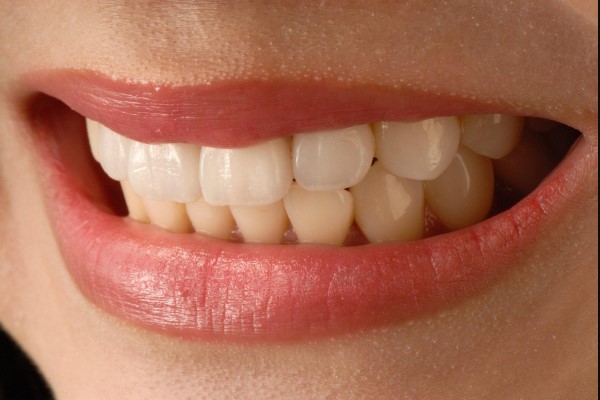
Veneers are a popular cosmetic dental solution for creating that perfect smile. Whether you’re looking to disguise discoloration, repair damaged teeth, or align a misaligned bite, veneers can dramatically transform the way your teeth look.
One of the most critical stages in the veneer process is the preparation of your natural teeth, a job that is best left to a professional. Here’s what you can expect in the step-by-step guide to getting your teeth prepped for veneers.
Initial Assessment
The first step in getting dental veneers is to schedule a consultation with a cosmetic dentist. During this initial visit, your dentist will assess your oral health and discuss your goals for treatment.
This is the perfect time to ask questions and address any concerns you may have. Your dentist will also likely take X-rays and impressions of your teeth to create a treatment plan that is tailored to your needs.
Preparing Your Teeth
Prepping teeth for veneers begins with your dentist administering a local anesthetic to ensure your comfort throughout the procedure. Once you are comfortable, your dentist will start by removing a small layer of enamel from the front of your teeth. This step is crucial as it helps to create space for the veneers so that they sit flush with your other teeth.
After the enamel is removed, your dentist will take impressions of your teeth. These impressions will be used to create the custom veneers that will ultimately be bonded to your teeth. Note that the amount of enamel removed is permanent, and your teeth will always need some kind of protection, such as veneers, to look their best.
Temporary Veneers
While your permanent veneers are being crafted at the dental lab, your dentist may fit you with temporary veneers to protect your prepared teeth. These provisional veneers may not be as durable as your permanent ones, so you will need to follow some precautions, such as avoiding sticky foods that could dislodge them. They are, however, crucial for maintaining your smile and normal eating while you wait.
Fitting the Permanent Veneers
Once your permanent veneers are ready, you will return to the dentist’s office to have them fitted. Your dentist will remove the temporary veneers and clean your teeth thoroughly before bonding the permanent ones in place. The fit will be checked and adjusted as needed to ensure they feel comfortable and look natural.
Final Bonding
With the fit confirmed, the last step is to bond the veneers to your teeth. This is done with a special adhesive that is hardened with a curing light. The bonding process is permanent, so take care in maintaining proper oral hygiene to keep your veneers looking their best.
Aftercare and Follow-Up
After your veneers are in place, your dentist will provide you with care instructions. It’s essential to follow these guidelines to ensure the longevity of your veneers. Good oral hygiene, including regular brushing and flossing, and biannual dental check-ups are crucial.
Start Your Teeth Prepped for Veneers Today
Keep in mind that teeth prepped for veneers is a detailed process that requires skill and precision. By choosing a reputable dentist and understanding each stage of the procedure, you can feel more confident in your veneer journey. Remember that veneers are a lifelong commitment, so investing time in proper preparation is key to enjoying the smile you’ve always wanted.
If you want to read more articles, visit our blog.


